How to Make a VPN Server at Home in 2026

Quick Summary: How to Make a VPN Server
There are four ways to make a VPN server at home. You can set one up on your router, create a virtual machine, activate the built-in VPN on your Windows PC or set up a server using NordVPN Meshnet.
You can make a VPN server at home. The setup process isn’t easy, but there are a few benefits. A home virtual private network server has more customization options, is often cheaper and involves no third parties. Today, I’ll show you how to make a VPN server from the comfort of your home.
Before I start, be aware that there are some limitations to running your own VPN server software or hardware. For example, you may not be able to unblock geo-restricted content without the wide range of servers you get on a commercial VPN. Additionally, you need to be tech-savvy enough to secure and maintain your VPN server.
Don’t worry — it’s not rocket science, for the most part. If you’ve been entertaining the thought of setting up your own VPN server, read this article to the end to find out how.
Using Your Own VPN Server vs Commercial VPNs
Commercial VPNs are the best solution for most people because they have everything configured in advance. All you need to do is pay for a subscription, install the VPN app on your preferred device and you’re good to go. Then, just plug and play. Furthermore, most of the best VPNs have round-the-clock customer support and regular updates.
However, if you have the technical know-how and love a good challenge, setting up your own VPN comes with some advantages. First, there are no third parties involved, which means better privacy. Second, depending on the method you use, you can set up a VPN server without spending a dime.
Below is a table showing the key differences between a homemade VPN and commercial VPN services.
| Aspect: | Home VPN Server | Commercial VPN |
|---|---|---|
| Setup | Technical & time-consuming | Quick & easy |
| Customizations | Full control over customizations | Limited user control |
| Features | Limited | Advanced |
| Security | Varies with setup & technical know-how | Depends on network setup & available features |
| Privacy | Complete control over data, with no third parties involved | Data collection varies with privacy policies |
| Usability | Technical skills needed | User-friendly even for first-time users |
| Maintenance | Regular self-maintenance needed | Maintenance-free |
| Server Locations | Limited server options | Multiple options, including specialty servers |
| Server Ownership | Owned or rented & mostly shared | Owned or rented & mostly shared |
| Streaming Capability | Limited | Depends on server locations |
| Bypassing Censorship | Limited | Excellent |
| Cost | Between free & low cost | Recurring subscription fees |
How to Make a VPN Server
There are four methods for setting up a VPN server from scratch at home, each with varying levels of difficulty. You can turn your router into a VPN server by flashing, run the VPN server on a virtual machine like Microsoft Hyper-V, set up a VPN server on your Windows PC or use NordVPN Meshnet.
1. Turn Your Router Into a VPN Server
Image Caption: You can turn a regular router into a VPN server with the right configurations.
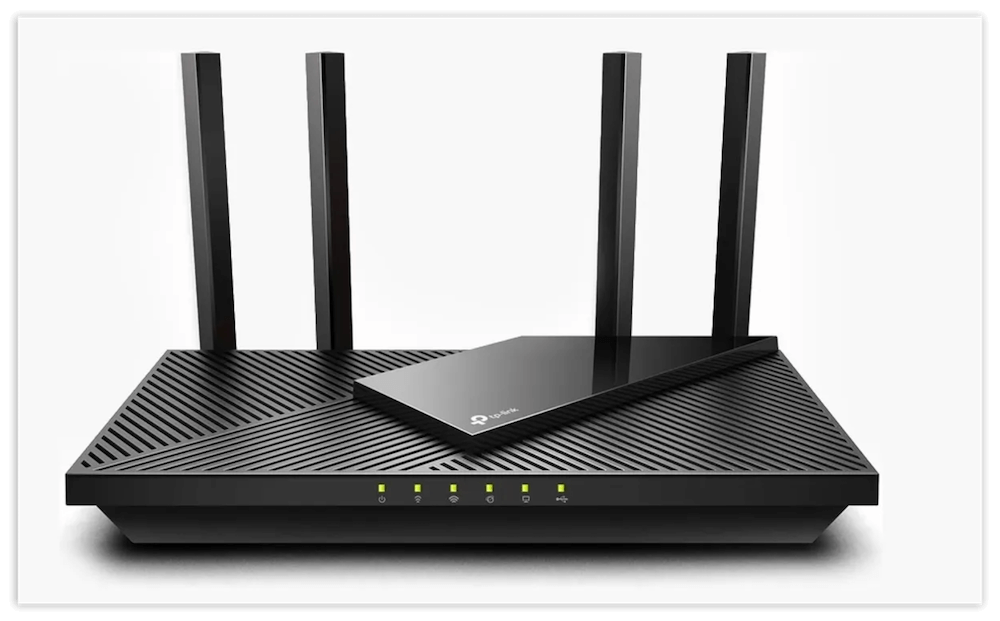
You can turn your router into a VPN server by replacing the router’s operating system with advanced VPN router firmware like DD-WRT or OpenWRT. This process is called flashing, and my colleague discusses it a bit more in his “Best VPN for Asus Router” article.
Flashing can boost the router performance by improving network connectivity with minimal signal drops and interruptions. Flashed routers also have better security. You can install VPNs and receive regular security patches from the manufacturer.
Below, I list the steps you can follow to flash your router and turn it into a VPN server. The steps vary drastically between router models, so I won’t be able to explain them in detail here — check your router’s manual or website for the full instructions.
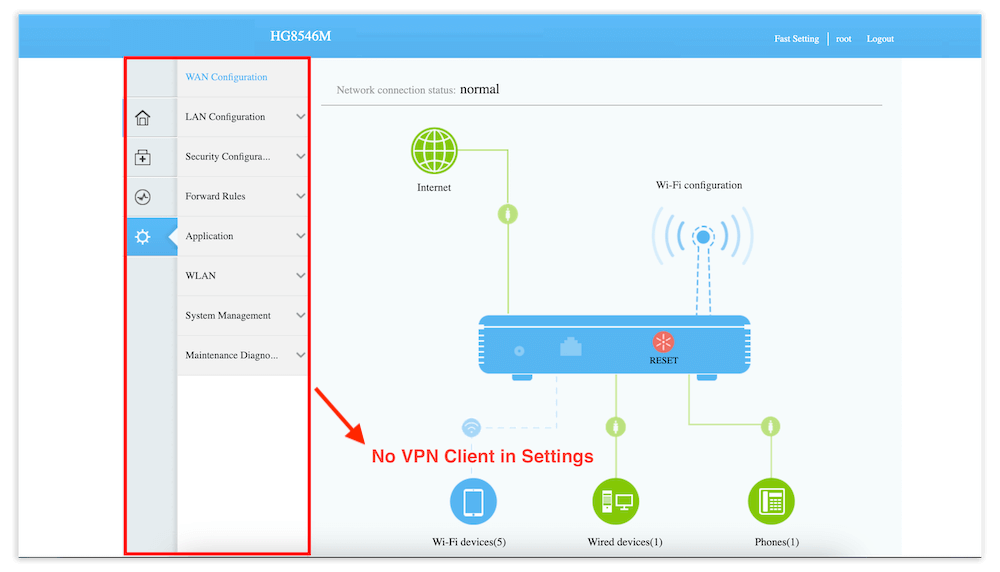
1. Check Compatibility
If you can’t see a tab in the router’s control panel for VPN clients, then the router doesn’t support VPNs. Check the manufacturer’s website to confirm whether your router supports OpenWRT, DD-WRT or Tomato firmware. If it doesn’t, you’ll have to get another model that does work with new firmware or purchase one with the firmware pre-installed.
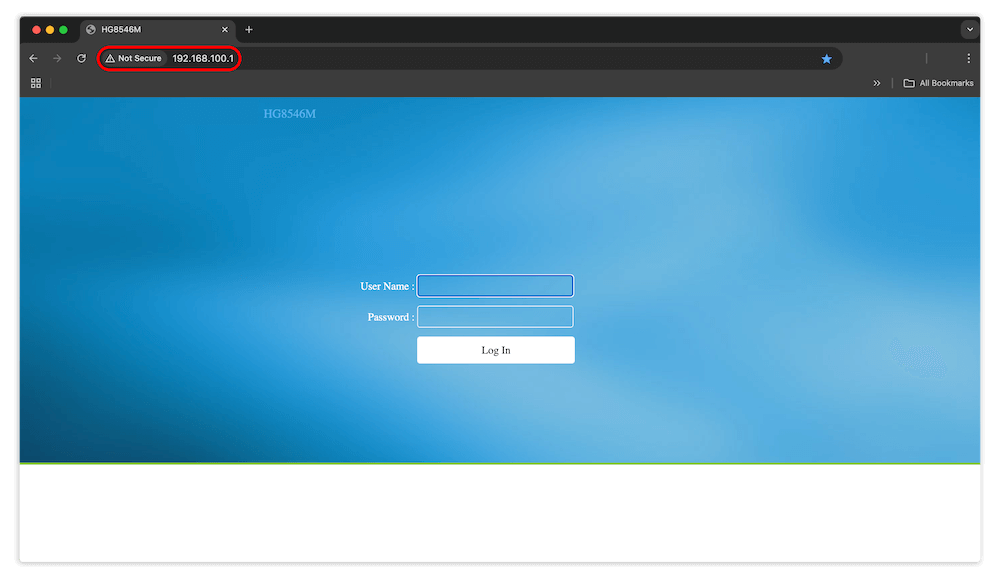
Image Caption: If you don’t see any VPN-related settings in your router panel then that means it doesn’t support VPNs.
2. Install Firmware
Download and install compatible firmware on your router, then connect it to your device (a PC) using an ethernet cable or WiFi.
3. Locate Upgrade Settings
Every router comes with an internal IP address, username and password printed on a sticker on the back. The IP address usually looks like 192.168.01 or 192.168.1.1. Enter this IP address into your web browser and log in to your router backend using the router credentials, then locate the upgrade section.
4. Flash the Router
Instructions for flashing a router depend on the brand. You can find the corresponding steps for your router on the official website. Note that flashing router firmware is a delicate process; it may brick the device if it loses power during the upgrade, or if you inadvertently install incompatible firmware. Restart the router once the flashing is complete.
5. Enable OpenVPN
Log in to your router once more and open the control panel, then click on the “wireless” tab and locate the “VPN” tab. Enable OpenVPN. I recommend an OpenVPN server to start, but it isn’t the only protocol that works for VPN routers. Some MikroTik routers work with IKEv2, and TP-Link Deco routers work with WireGuard.
6. Set Up the VPN Server and Clients
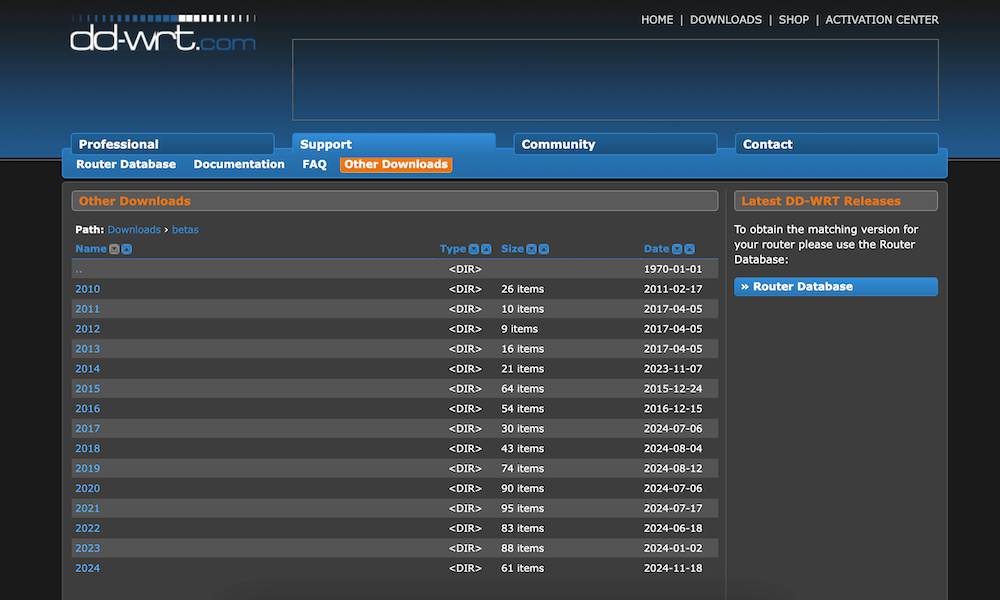
This step varies depending on the firmware. The firmware setup process is detailed and lengthy, so I won’t go through it here. Click on the following links to find complete setup manuals for DD-WRT, OpenWRT and Tomato.
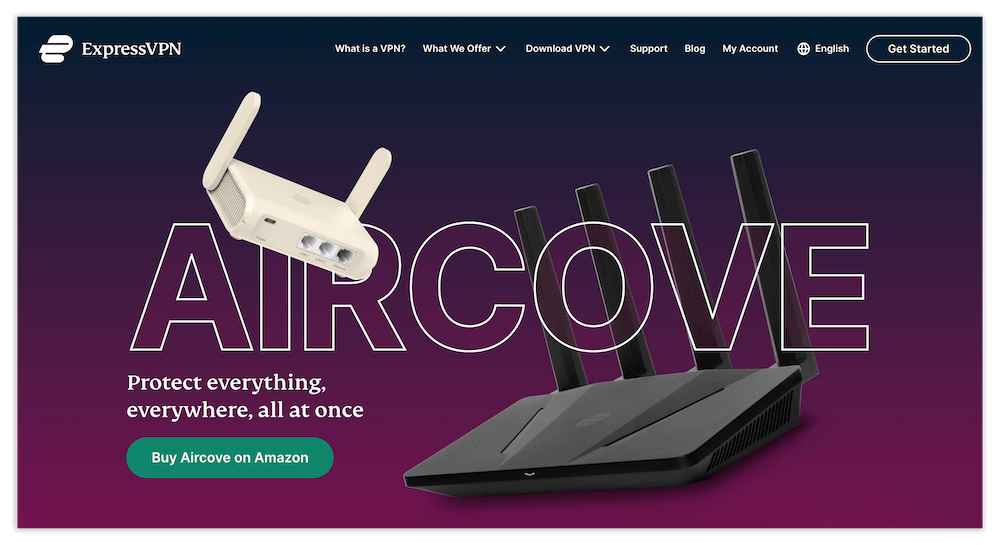
An alternative option is to buy a VPN-compatible router. VPN routers like ExpressVPN Aircove come with the VPN fully installed. You can find the remaining setup steps on the website for the service you choose.
2. Run a Remote VPN Server on a Virtual Machine
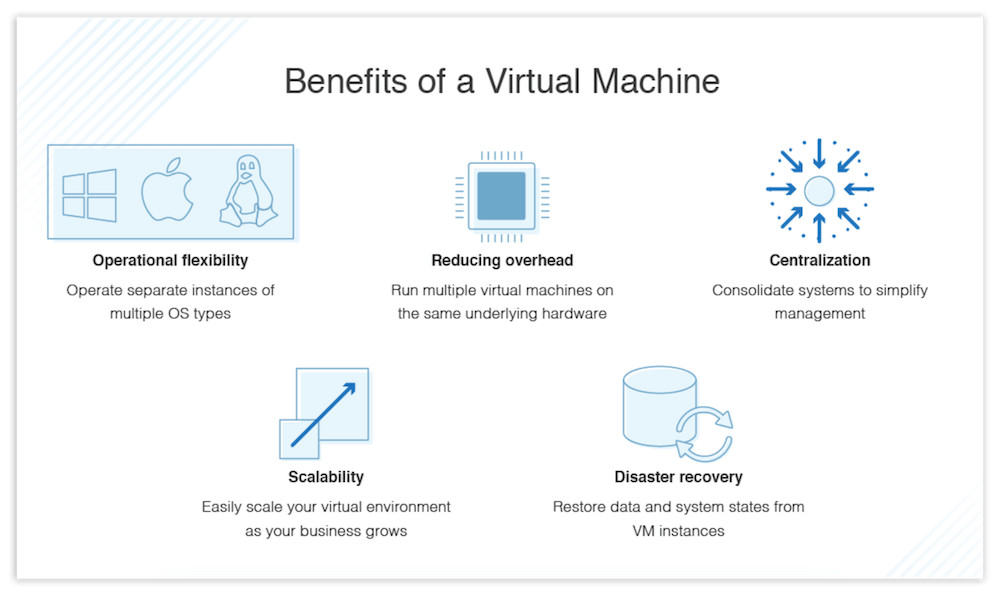
This method involves setting up OpenVPN on a virtual machine like VMWare ESXi or Microsoft Hyper-V. The key advantage of running a remote VPN server on a virtual machine is that virtual isolation reduces the attack surface. Even if the VPN server is compromised, the rest of the infrastructure will remain untouched.
Additionally, virtual machines like Hyper-V have their own built-in encryption that reduces the chances of security breaches. Below, I provide a summarized guide to setting up a remote VPN server on a virtual machine like Microsoft Hyper-V.
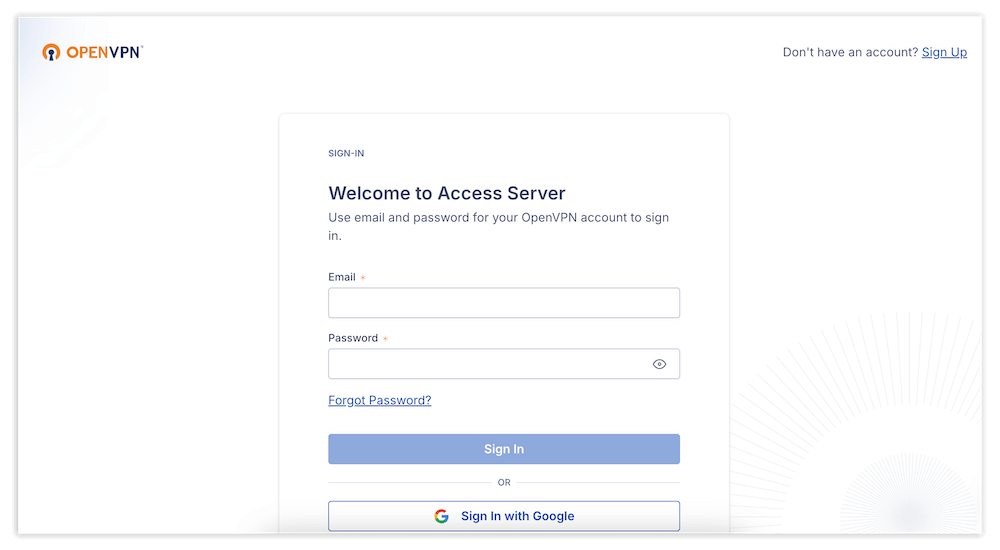
1. Download and Install the Access Server Virtual Hard Disk Image
Download an Access Server Hyper-V .zip file by signing in to the Access Server portal or creating a new account. To access the file, click on Get Access Server > Virtual Appliance > Microsoft Hyper-V.
2. Create a New Generation 2-Type VM
Launch the Hyper-V manager (which gets installed alongside other components in step one) and create a Generation 2-type virtual machine. Give it a minimum of 1GB RAM. Select a .vhdx file that you unpacked from the .zip file you downloaded in step one and complete the setup wizard.
3. Configure Your Access Server
Sign in to the access server using the credentials for your Access Server portal account from step one. Walk through the setup wizard until you see the web interface addresses and credentials for your access server. Set the correct time zone for the VPN server deployment by entering the command “dpkg-reconfigure tzdata.”
4. Finish the Setup
Finishing the setup in step three should result in your command module outputting URLs for your web server, as well as an admin password. Use the admin URL and password to enter the control panel, then purchase a subscription key. While in the admin URL, select a user authentication system and follow the instructions to activate it.
5. Connect to Your VPN Server
You can now connect to your virtual VPN server on another device by entering the client URL from the end of step three. Download a connection profile and run it in a VPN client app like OpenVPN Connect. You can now use the internet with the identity of the virtual server you’ve created.
3. Set Up a VPN Server on Your Own Hardware
If your router isn’t compatible with VPN firmware, you can set up a VPN server on your PC or smartphone. For this to work, choose a device you can keep on throughout the process; once it’s turned off or crashes, your VPN connection goes with it.
Windows 10 is an operating system that can be used for this setup and even comes with its own built-in VPN function. However, it uses the outdated PPTP protocol, so it’s not the most secure. If you want better security, set up a VPN server using OpenVPN instead.
The key limitation of this method is the need to forward ports from your router in order to connect to some devices. I list the quick steps below if you’re still committed. Alternatively, you can check out this Windows VPN configuration guide for a more detailed walkthrough.
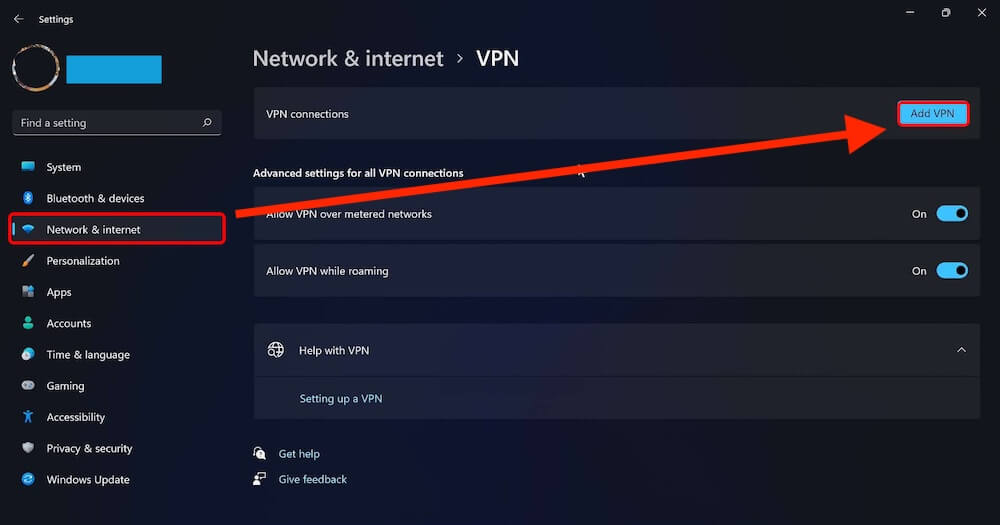
1. Add a VPN on Windows
Click on the “start” button, then go to settings > network & internet > VPN > add VPN.
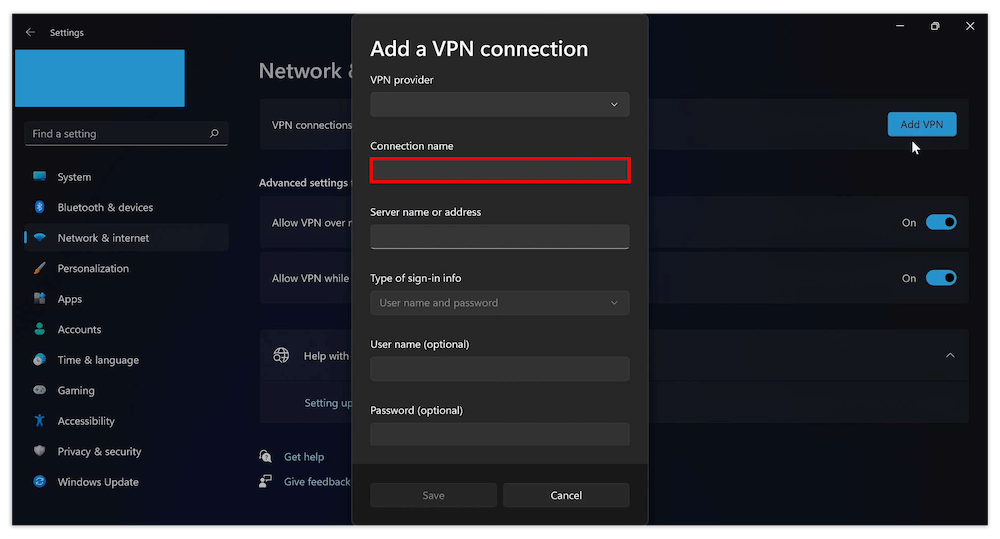
2. Set up the VPN
Choose the “Windows (built-in)” option and enter the name you want to use in the “connection name” box.
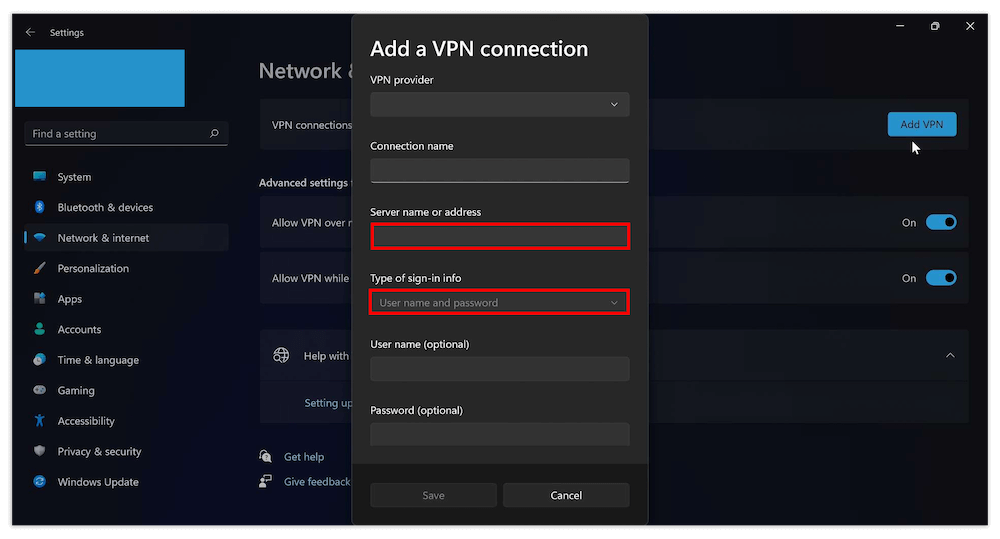
3. Enter the Server Address
Request your VPN provider’s server name and address from customer support. Once you have these details, input them in the server address box, hit “save” and then click “connect.”
4. Use NordVPN Meshnet
The final method to create a VPN server is to use NordVPN Meshnet. This feature, which you can read about in “What Is Meshnet?,” lets you remotely access any of your devices via a secure NordLynx connection. With Meshnet, you can share files, play games, create remote file storage, change your public IP address and protect your entire network.
Since you need a NordVPN subscription to use Meshnet, you’re probably wondering why you’d need to set up your own server when you can just use NordVPN. One advantage of using Meshnet to create a VPN server is that you can use your own devices instead of NordVPN’s public servers. This means you won’t be sharing a server with other people.
Additionally, you can get an IP address from any country where you have a device, even if NordVPN has no server there. This makes the Meshnet method very efficient at unblocking restricted content. Plus, you get a real personal IP not associated with a VPN, which is reliable for accessing platforms that block VPN services. Check out the steps below.
1. Launch NordVPN
Open the NordVPN app on your Windows device and log in if necessary. If you don’t have the app yet, you can subscribe and take advantage of the 30-day money-back guarantee.
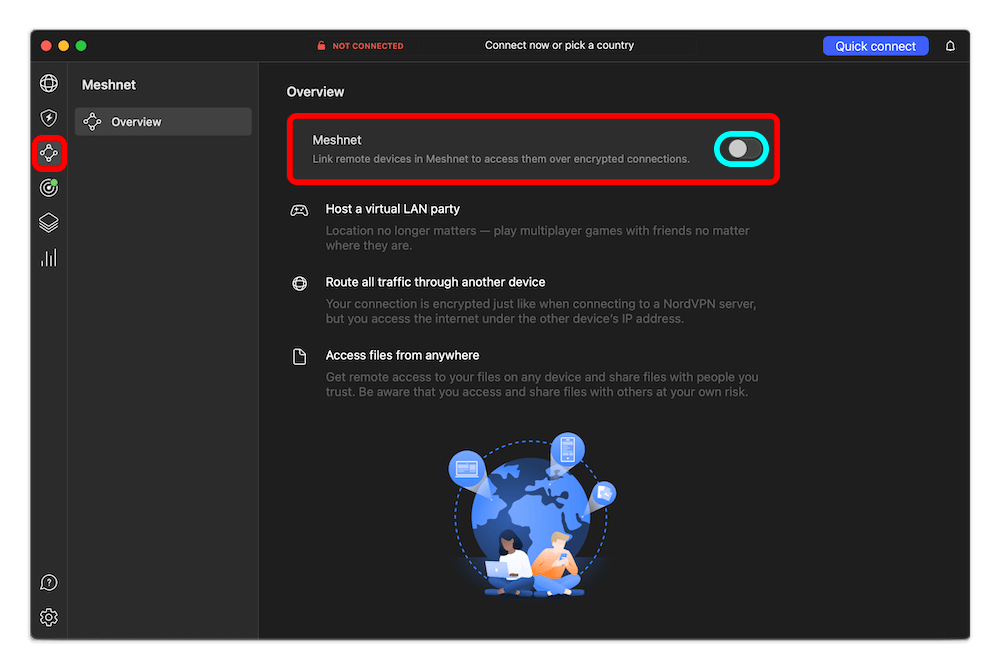
2. Open Meshnet
From the left-side panel, click on the Meshnet icon (the four connected circles), then click the switch on the far right to turn on Meshnet.
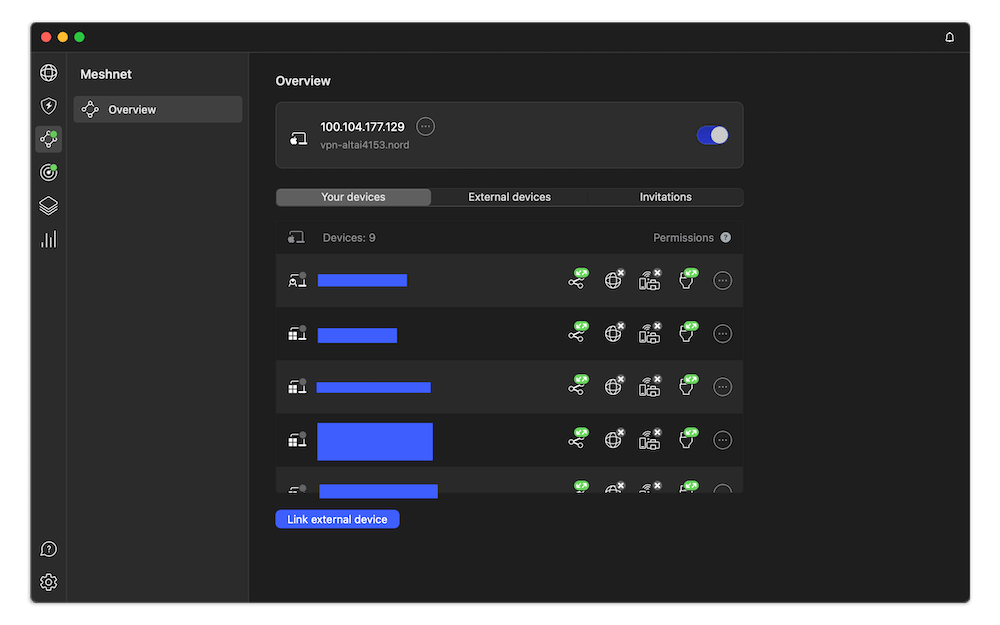
3. Add Devices to Meshnet
You can add devices to your Meshnet by installing the NordVPN app on the devices you want to connect to, then enabling Meshnet on those devices. You can add up to 10 devices. If you’re curious about NordVPN, check out my colleague’s NordVPN review.
Advantages of Making Your Own VPN Server
The advantages of making your own VPN server instead of using a commercial VPN service include the following:
- Reduced cost: Several of the methods we’ve outlined won’t cost you anything. As long as you have the technical know-how, you can set up a VPN server on a cloud service, your router or another device. Some cloud services even offer free versions, including Amazon Web Services.
- Better privacy: There are no third parties involved in running your own VPN server. You have more control over your data, and you don’t have to worry about anyone discreetly logging it. With cloud VPN servers, you can even dispose of the server and create a new one if you feel unsafe.
- Secure remote access: A homemade VPN server grants you secure remote access to all your devices. You can easily access your local network even when you’re miles away from home.
- Scalability: Having your own VPN server gives you the flexibility to increase resources as needed. For example, you can connect more devices or remove them as you wish. This is particularly handy for businesses with remote workers.
Disadvantages of Making Your Own VPN Server
Here are some disadvantages of making your own VPN server.
- Complicated setup: If you don’t have a basic understanding of networking, you’ll have a hard time creating your own VPN server. There are a lot of configurations involved, and one wrong step may permanently brick certain routers.
- Limited unblocking capability: Three of the four methods we’ve discussed allow you to configure the VPN to get foreign IP addresses for unblocking content. However, a commercial VPN gives you dozens of already-built servers, which means you have a much higher chance of finding a location that works.
- Slow speeds: There’s a high chance you’ll experience slower browsing speeds when using your own VPN server. If you already have slow internet, setting up a VPN server can make it even worse.
- Not entirely private: A home VPN server does a good job of protecting your personal data from hackers. However, a home VPN server encrypts traffic only between your devices and the VPN server. This means most of what you do online is still visible to your internet service provider.
- No shared IP protection: It’s harder to be singled out while using a shared IP. With a home VPN server, it’s just you using an ISP-provided IP address. If that address leaks, you can be tracked quickly and accurately.
- No updates: With a home VPN server, you’re on your own as far as maintenance is concerned.
Conclusion
Creating your own VPN server is cost-effective if you have the technical skills and patience for it. Though it may not have the same capability as a commercial VPN provider, when set up right, a home VPN server can handle your most important security needs in a way that’s under your control.
The router and virtual machine methods are the most technical but give you great control if you have the know-how. However, setting up a VPN server on hardware like Windows is much easier, and the Meshnet method supports remote access.
Have you ever tried setting up your own VPN server? Which method did you use? How hard or easy was it compared to using commercial VPNs? Let us know what you think in the comments below. Thank you for always keeping up with our blog.
FAQ: How to Set Up a VPN Server
Can You Set Up Your Own VPN Server?
Yes, you can set up your own VPN server on your router, a Windows PC or a virtual machine, or by using a cloud service like Amazon Web Services or NordVPN Meshnet.How to Make a Free VPN?
You can make a free VPN by setting up your own VPN server on your Windows PC or on a router, or by using a free cloud service.Does a VPN Need a Server?
Yes, a VPN needs a server to work. There has to be a connection between a VPN client (your device) and a VPN server for the VPN to function.
Leave a Reply